Introduction
Chicken nuggets are a beloved comfort food that has captured the hearts and appetites of people across the globe. Whether enjoyed as an after-school snack, a quick meal on busy weeknights, or a party treat, chicken nuggets are a versatile dish that appeals to both children and adults. While many of us have fond memories of enjoying fast-food nuggets, there’s something undeniably satisfying about making them at home. Homemade chicken nuggets not only offer superior taste but also allow you to control the ingredients, making them a healthier option for you and your family.
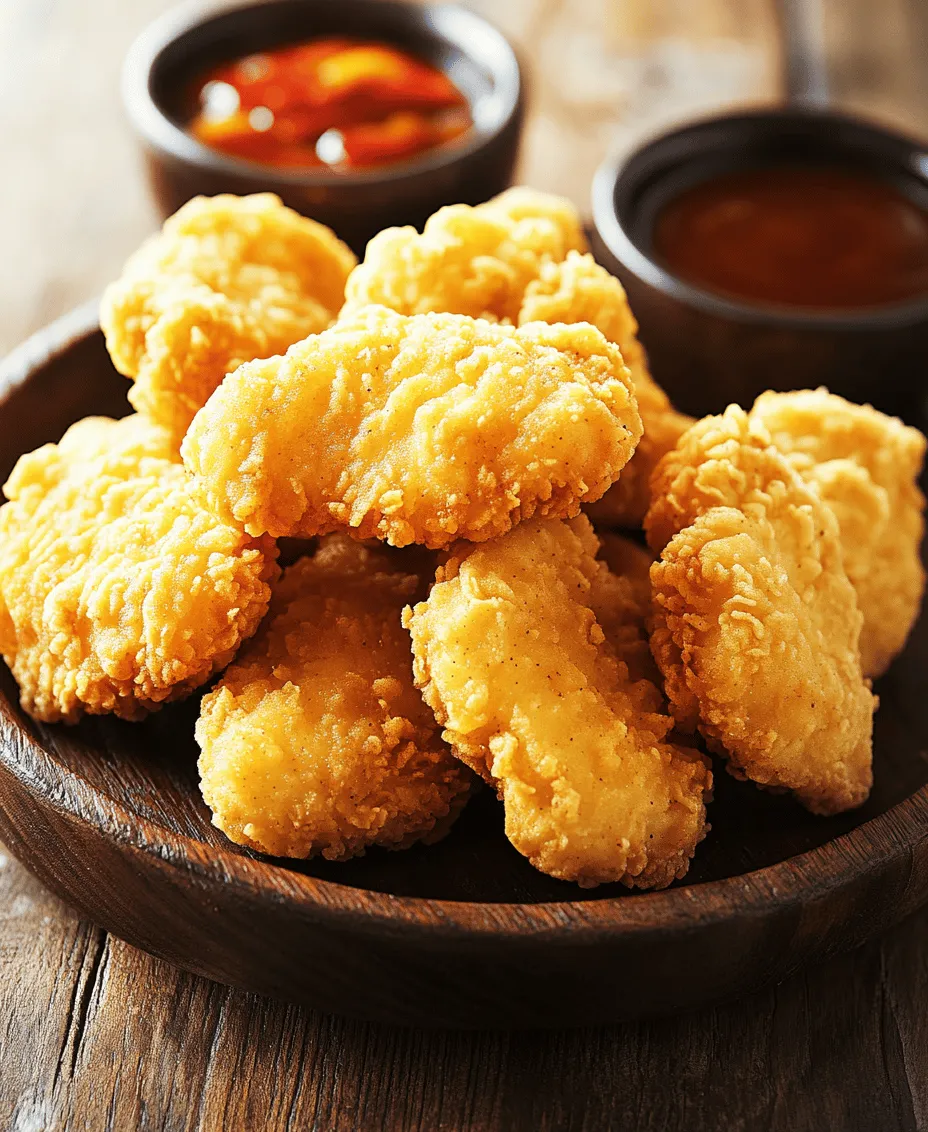
In this article, we will guide you through the process of creating Crunchy Golden Chicken Nuggets from scratch. This recipe stands out for its emphasis on fresh ingredients, a delightful crunch, and a rich flavor profile. By using boneless, skinless chicken breasts and a special breading technique, you’ll be able to achieve a nugget that is both crispy on the outside and tender on the inside. Let’s dive deeper into the appeal of chicken nuggets and what makes this homemade version a must-try!
The Appeal of Chicken Nuggets
The popularity of chicken nuggets transcends borders and cultures. From children’s menus in restaurants to international fast-food chains, these bite-sized delights have become a staple culinary item. Their widespread appeal can be attributed to several factors, including their finger-food nature, ease of preparation, and adaptability to various flavors and sauces.
Not only are chicken nuggets delicious, but they also provide significant nutritional benefits when made from fresh chicken. Unlike many frozen options available in stores, homemade nuggets utilize whole chicken breasts, which are a great source of lean protein. This makes them a healthier choice, as you can avoid preservatives and additives often found in pre-packaged varieties. Additionally, you can adjust the seasoning and flavoring to suit your dietary preferences or nutritional needs.
Moreover, the versatility of chicken nuggets is another reason for their enduring popularity. They can be served as a main dish alongside a variety of sides, such as salads, fries, or vegetables. They can also shine at special occasions, such as birthday parties or game-day gatherings, where they can be paired with an array of dipping sauces, enhancing their flavor and appeal.
Ingredients Breakdown
To create the perfect Crunchy Golden Chicken Nuggets, you need to gather a handful of essential ingredients. Each plays a vital role in ensuring that your nuggets turn out flavorful and crispy. Here’s a detailed breakdown of what you will need:
Boneless, Skinless Chicken Breasts
The star of our dish! Choosing boneless, skinless chicken breasts ensures that your nuggets are lean and easy to work with. In terms of health benefits, chicken breast is low in fat and high in protein, making it an excellent option for those seeking a nutritious meal. When preparing your chicken, it’s important to cut the breasts into uniform pieces to ensure even cooking. Aim for nugget-sized chunks, roughly two inches in diameter.
All-Purpose Flour
All-purpose flour is crucial in the breading process, as it helps the egg wash adhere to the chicken. This step is essential for creating that irresistible crunch. When coating your chicken, make sure to evenly dust each piece with flour, as this will create a base for the subsequent layers of moisture and crunch.
Eggs
Eggs serve as a binding agent in this recipe. When you dip the floured chicken pieces into the egg wash, the moisture from the egg helps the breadcrumbs stick to the chicken, forming a delicious crust. Additionally, eggs contribute to the overall richness of the nuggets, enhancing their flavor and texture.
Panko Breadcrumbs
Panko breadcrumbs are essential for achieving that coveted crunch. Unlike traditional breadcrumbs, panko is lighter and flakier, which allows for a crispier coating when fried. The texture of panko creates an airy crunch that elevates the eating experience, making your nuggets feel indulgent without being overly greasy.
Seasonings
To ensure that your nuggets are bursting with flavor, we will be using a blend of seasonings including garlic powder, onion powder, paprika, salt, and black pepper. Each of these ingredients adds depth and enhances the overall taste profile of the nuggets. Garlic and onion powders provide savory notes, while paprika adds a touch of warmth and color.
Vegetable Oil
When it comes to frying, vegetable oil is a versatile choice due to its high smoke point. This allows for frying at a high temperature, which is necessary to achieve that golden-brown exterior without overcooking the chicken inside. The right frying technique is crucial for ensuring your nuggets are perfectly crispy.
Dipping Sauces
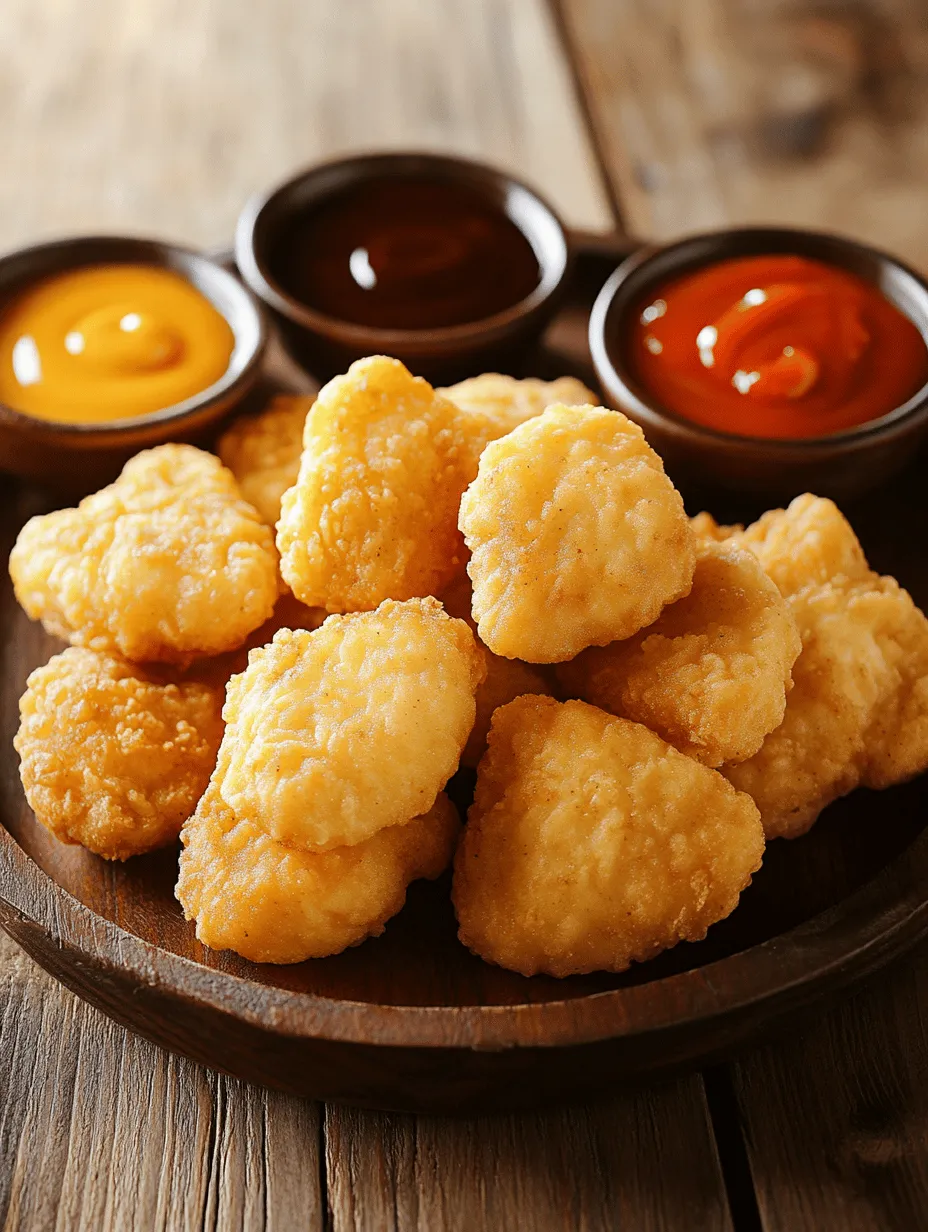
No chicken nugget experience would be complete without dipping sauces! You can choose from a variety of sauces to pair with your nuggets, such as classic barbecue sauce, honey mustard, ranch dressing, or spicy buffalo sauce. Each sauce brings its own unique flavor, allowing you to customize your meal to your taste.
Preparation Steps Explained
Now that we have our ingredients ready, it’s time to prepare our Crunchy Golden Chicken Nuggets. The preparation process is straightforward, yet it requires attention to detail to ensure the best results.
Preparing the Chicken
The first step in making your chicken nuggets is to prepare the chicken breasts. Start by trimming any excess fat from the chicken and cutting it into nugget-sized pieces. The size of your pieces should be consistent to promote even cooking.
Next, you’ll want to season the chicken. This is a crucial step that often gets overlooked. Seasoning not only enhances the flavor but also helps to infuse the chicken with deliciousness from the inside out. In a bowl, sprinkle some salt, pepper, garlic powder, and onion powder over the chicken pieces. Toss them gently to ensure that each piece is evenly coated with the seasoning. If you have time, consider marinating the chicken for 30 minutes to an hour in the refrigerator. This will deepen the flavor and make the chicken even juicier.
Tips on Even Coating
To ensure that each nugget is coated evenly, follow these tips:
1. Use a Three-Bowl Method: Set up three bowls for your dredging process – one for the flour, one for the eggs, and one for the panko breadcrumbs. This will help maintain a clean workspace and streamline the coating process.
2. Coat in Batches: Take a few chicken pieces at a time and coat them in flour first, shaking off any excess. This prevents clumping and ensures that the flour layer is light.
3. Egg Wash: Dip the floured chicken pieces into the egg wash, making sure they are fully submerged. Allow any excess egg to drip off before moving to the next step.
4. Panko Coating: Finally, transfer the chicken to the bowl of panko breadcrumbs. Gently press the breadcrumbs onto the chicken to ensure a thorough coating. This final step is essential for achieving that crispy texture we all love.
5. Let Them Rest: Once coated, let the nuggets rest for about 10 minutes before frying. This allows the coating to adhere better and helps prevent it from falling off during cooking.
By following these preparation steps and tips, you’ll be well on your way to creating delicious, homemade Crunchy Golden Chicken Nuggets that will impress everyone at the dinner table. In the next part of this article, we will explore the frying process and provide additional tips for perfecting your nuggets. Stay tuned for more delicious details!

Setting Up the Breading Station
To make the process of preparing Crunchy Golden Chicken Nuggets as efficient as possible, setting up a proper breading station is essential. This will not only streamline your workflow but also minimize mess during the cooking process. Here’s how to create an effective breading station:
1. Gather Your Bowls: Ideally, you should have three separate bowls ready. One for the flour mixture, one for the egg wash, and one for the panko breadcrumbs. The order of these bowls is crucial: flour, egg, and then panko.
2. Prepare the Flour Mixture: In the first bowl, combine all-purpose flour, salt, pepper, and any additional spices you prefer, such as garlic powder or paprika. This seasoned flour provides the base flavor to your nuggets.
3. Egg Wash: In the second bowl, beat a few eggs until fully combined. Adding a splash of milk or water can help thin out the mixture slightly, making it easier for the breadcrumbs to adhere to the chicken.
4. Panko Breadcrumbs: Fill the third bowl with panko breadcrumbs. For an extra crunch and flavor, consider adding grated Parmesan cheese or additional seasonings to the breadcrumbs.
The Role of the Three-Bowl Method
The three-bowl method is fundamental in achieving perfectly coated chicken nuggets. Each layer contributes to building a flavorful and crispy crust:
– Flour: The flour mixture helps to dry the chicken slightly, ensuring that the egg wash adheres better. This layer of flour also adds a slight crunch once cooked.
– Egg Wash: The egg wash serves as a binding agent, allowing the breadcrumbs to stick to the chicken. It also contributes to the overall richness of the nugget.
– Panko Breadcrumbs: Panko breadcrumbs are larger and airier than traditional breadcrumbs, creating a light and crunchy texture when fried. This method ensures that each nugget is well-coated for that perfect crunch.
Breading Techniques
Achieving the ideal crust on your chicken nuggets depends on your breading techniques. Here’s how to get it just right:
1. Coating the Chicken: Start by taking a piece of chicken and dredging it thoroughly in the flour mixture. Shake off any excess flour; you want a thin, even coating.
2. Dipping in Egg: Next, dip the floured chicken piece into the egg wash, ensuring it is fully submerged. Allow any excess egg to drip off; too much egg will make the nuggets soggy.
3. Pressing into Panko: Finally, press the chicken into the panko breadcrumbs, making sure to coat all sides evenly. This pressing technique is crucial as it helps the breadcrumbs adhere better to the chicken.
4. Resting the Nuggets: After breading, let the nuggets rest on a wire rack or a plate for about 10-15 minutes before frying. This resting period allows the breading to set, leading to a crunchier exterior when cooked.
Tips for Pressing Panko Breadcrumbs
To maximize the adherence of panko breadcrumbs, consider these tips:
– Use Fresh Panko: Fresh panko breadcrumbs yield better texture and flavor compared to stale ones. If you have leftover panko from previous recipes, check its freshness before using.
– Press Firmly: When coating the chicken in panko, press down firmly to ensure the breadcrumbs stick well. This will help create that wonderfully crunchy exterior after frying.
– Double Dip for Extra Crunch: For an extra-crispy nugget, consider double-dipping. After the first round of breading, return the nugget to the egg wash and then back to the panko for a second coating.
Frying the Nuggets
Frying your chicken nuggets to perfection requires attention to detail, especially regarding oil temperature and cooking techniques.
Optimal Oil Temperature
The temperature of the oil is crucial for achieving the right texture and flavor. Aim for a temperature between 350°F and 375°F. Here’s why it matters:
– Crispy Exterior: If the oil is too cool, the nuggets will absorb excess oil, resulting in a greasy texture. Conversely, if the oil is too hot, the outside will burn before the inside cooks through.
– Using a Thermometer: For the best results, use a deep-frying thermometer to monitor the oil temperature accurately. If you don’t have one, you can test the oil by dropping a small piece of bread into the oil; it should sizzle and turn golden brown in about 60 seconds.
Techniques for Frying
To ensure even cooking and prevent overcrowding, follow these techniques:
1. Fry in Batches: Avoid overcrowding the pan, as this will lower the oil temperature and lead to unevenly cooked nuggets. Fry in batches of four to six, depending on the size of your pan.
2. Turn the Nuggets Regularly: Use tongs to turn the nuggets occasionally, allowing them to brown evenly on all sides. This will also help prevent them from sticking to the bottom of the pan.
3. Monitor Cooking Time: Each batch should take about 4-6 minutes to cook, depending on the size of the nuggets. Keep an eye on them to ensure they do not overcook.
Signs of Doneness
Knowing when your nuggets are perfectly cooked is essential for both safety and taste:
– Internal Temperature: The USDA recommends that chicken be cooked to an internal temperature of 165°F. Use a meat thermometer to check the temperature of the thickest nugget.
– Visual Cues: Perfectly cooked nuggets should be golden brown and crispy on the outside. If they appear dark brown or burnt, they may be overcooked.
Draining Excess Oil
Once your nuggets are cooked, it’s essential to drain any excess oil to maintain their texture and health factor:
– Use Paper Towels: Transfer the fried nuggets to a plate lined with paper towels. This will absorb excess oil and keep the nuggets crispy.
– Cooling Rack: For best results, place the nuggets on a wire cooling rack over a baking sheet. This allows air circulation, preventing the bottoms from becoming soggy.
Serving Suggestions
Crunchy Golden Chicken Nuggets are incredibly versatile and can be served in a variety of ways. Here are some creative ideas for serving:
Pairing with Dipping Sauces
Enhance the flavor of your chicken nuggets with various dipping sauces. Consider these popular options:
– Barbecue Sauce: A classic pairing, barbecue sauce adds a smoky sweetness that complements the crispy nuggets.
– Honey Mustard: This tangy and sweet sauce is a favorite for many and pairs beautifully with the savory flavor of chicken.
– Ranch Dressing: Creamy ranch dressing provides a cooling contrast to the warm, crunchy nuggets.
Serving Alongside Sides
For a complete meal, consider serving your nuggets with sides. Here are some delicious suggestions:
– Fries: Classic French fries or sweet potato fries are an excellent pairing for chicken nuggets, making for a satisfying meal.
– Salads: A fresh garden salad can add a healthy balance to the meal, providing a refreshing crunch alongside the nuggets.
– Coleslaw: The creamy texture of coleslaw complements the crispy nuggets, creating a delightful contrast.
Presentation Tips
To make your dish visually appealing, consider these presentation tips:
– Serve on a Platter: Arrange your chicken nuggets on a large platter, garnishing with fresh herbs or sliced vegetables for color.
– Use Dipping Bowls: Place small bowls of dipping sauces around the platter for easy access and an attractive presentation.
– Add Color: Incorporate colorful sides like carrot sticks or bell pepper strips to make the plate more inviting.
Health Considerations
When it comes to chicken nuggets, homemade options often provide better health benefits compared to store-bought varieties. Here’s why:
Homemade vs. Store-Bought Nuggets
– Quality Ingredients: When making nuggets at home, you have full control over the ingredients, allowing you to choose lean chicken and fresh spices without additives or preservatives.
– Lower Sodium: Homemade versions can be lower in sodium compared to many frozen options, making them a healthier choice.
Suggestions for Healthier Alternatives
If you’re looking for lighter options, consider these alternatives:
– Baking: Instead of frying, you can bake the nuggets in the oven. Preheat your oven to 400°F, place the breaded nuggets on a greased baking sheet, and bake for about 20 minutes, flipping halfway through.
– Air Frying: An air fryer is an excellent option for achieving crispy nuggets with significantly less oil. Set the air fryer to 375°F and cook the nuggets for about 10-12 minutes, shaking the basket halfway through.
Nutritional Value of Ingredients
The ingredients used in your homemade chicken nuggets contribute to their nutritional value. Chicken is a great source of protein, while panko breadcrumbs provide carbohydrates. Adding herbs and spices not only enhances flavor but can also offer additional health benefits.
Conclusion
Making homemade Crunchy Golden Chicken Nuggets is not just a cooking task; it’s a delightful culinary experience that brings joy to the kitchen. The satisfaction of biting into a perfectly crispy nugget, knowing you made it from scratch, is unmatched. Whether you’re preparing them for a family gathering, a game night, or just a fun cooking activity with the kids, these nuggets are sure to please.
So, gather your ingredients, set up your breading station, and enjoy the process of creating delicious nuggets that are healthier and tastier than any store-bought option. With the right techniques and a little creativity in serving, your homemade chicken nuggets will become a beloved staple in your household. Embrace the joy of cooking, and let the flavors of your homemade meals nourish both body and soul.


