Introduction
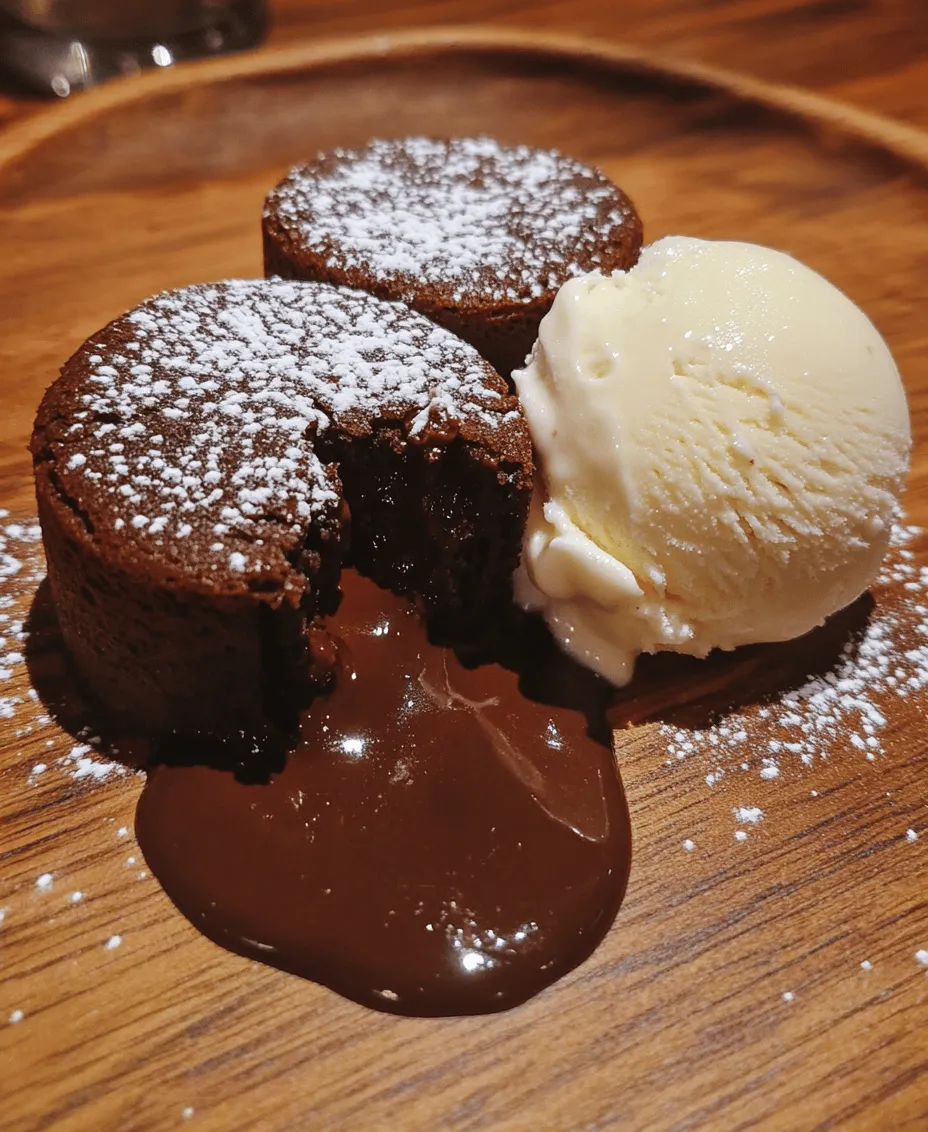
Welcome to the world of decadent chocolate lava cakes, where rich chocolate meets molten bliss! These exquisite desserts are a true testament to indulgence, offering a delightful combination of a firm outer cake and a gooey, molten center that flows out like a river of chocolate when you cut into them. Chocolate lava cakes are not just a treat; they are an experience that tantalizes your taste buds and leaves you craving more.
Their appeal lies not only in their rich flavor but also in their impressive presentation. Imagine serving a warm cake to your guests, and as they take their first bite, the luscious chocolate center flows out and envelops their palate in pure bliss. It’s no wonder that chocolate lava cakes are a favorite choice for special occasions, romantic dinners, or simply when you want to pamper yourself with a delightful dessert. Whether you’re celebrating an anniversary, hosting a dinner party, or just indulging in a sweet evening at home, these cakes are sure to impress and satisfy.
The Allure of Chocolate Lava Cakes
The origins of chocolate lava cakes can be traced back to the early 1980s, when French chef Michel Bras is often credited with inventing this culinary masterpiece. The cake, known as “cake au chocolat coulant,” quickly gained popularity in fine dining establishments across the globe. The combination of a baked exterior and a molten interior was a novel idea that revolutionized dessert menus and captured the hearts of chocolate lovers everywhere.
As their fame grew, chocolate lava cakes became a staple in many restaurants, often featured on dessert menus as a luxurious option. They are celebrated not only for their taste but also for the theatrical experience they provide. Watching someone cut into the cake and reveal the flowing chocolate center is almost as satisfying as tasting it. This aspect has made lava cakes a favorite among home bakers as well, who enjoy recreating this restaurant-style dessert in their own kitchens.
The experience of indulging in a chocolate lava cake is an emotional one. The warm, rich chocolate is comforting and reminiscent of childhood treats, making it an ideal dessert for any occasion. Whether served with a scoop of vanilla ice cream to complement the warm chocolate or accompanied by a dollop of whipped cream, the lava cake is an indulgent way to end any meal.
Essential Ingredients for Decadent Chocolate Lava Cakes
To bake the perfect chocolate lava cakes, it’s crucial to understand the role of each ingredient in achieving that signature molten center and indulgent flavor. Here’s a detailed description of the essential ingredients you will need:
1. Unsalted Butter: Butter is essential for creating a rich flavor and a moist texture in the cake. Using unsalted butter allows you to control the salt content in your recipe. If you’re in a pinch, you can substitute it with margarine or a dairy-free alternative, but the flavor may not be quite as rich.
2. Semi-Sweet Chocolate Chips: The quality of chocolate you use will significantly impact the taste of your lava cakes. Semi-sweet chocolate chips are a popular choice because they offer a perfect balance of sweetness and richness. Look for high-quality brands that contain at least 60% cocoa for the best results. Alternatively, dark chocolate can be used for a more intense flavor.
3. Powdered Sugar: Powdered sugar is used to sweeten the batter while providing a smooth texture. It dissolves easily in the mixture, ensuring that your cake has a tender crumb. If you prefer, you can substitute with granulated sugar, but be sure to beat it well to avoid graininess.
4. Eggs and Egg Yolks: Eggs are the secret to achieving the perfect texture in your lava cakes. The combination of whole eggs and extra egg yolks adds richness and moisture, creating a custard-like center that oozes when baked. The proteins in the eggs also help provide structure to the cake while keeping it soft.
5. Vanilla Extract: A splash of vanilla extract enhances the overall flavor profile of your lava cakes, adding depth and complexity. While pure vanilla extract is preferable for its rich flavor, imitation vanilla can be used in a pinch.
6. All-Purpose Flour: Flour is necessary to give your cakes structure and stability. However, too much flour can lead to a dry cake, so it’s crucial to measure accurately. The right amount will balance the moisture from the chocolate and eggs, allowing for that signature molten center.
7. Pinch of Salt: A small pinch of salt is essential in baking as it enhances the flavors of the other ingredients. It helps to balance the sweetness and bring out the richness of the chocolate.
8. Optional Serving Suggestions: While the lava cakes are delicious on their own, they can be elevated further when served with a scoop of vanilla ice cream or a dollop of whipped cream. The cold creaminess perfectly contrasts with the warm, gooey chocolate center, making each bite an indulgent experience.
Step-by-Step Instructions for Baking Chocolate Lava Cakes
Now that you have a good understanding of the ingredients, it’s time to dive into the step-by-step process of making these decadent chocolate lava cakes. Follow these straightforward instructions to create your own delightful treats:
1. Prepare Your Ramekins: Preheat your oven to 425°F (220°C). While the oven is heating, prepare four 6-ounce ramekins by greasing them with butter and dusting them lightly with cocoa powder. This step ensures that the cakes release easily after baking.
2. Melt the Chocolate and Butter: In a microwave-safe bowl, combine the unsalted butter and semi-sweet chocolate chips. Heat in the microwave in 30-second intervals, stirring after each interval, until the mixture is completely melted and smooth. Be cautious not to overheat, as chocolate can burn easily.
3. Mix the Sugar and Eggs: In a separate mixing bowl, whisk together the powdered sugar and whole eggs until well combined. Add the extra egg yolks and continue whisking until the mixture is pale and slightly thickened. This process incorporates air into the batter, which contributes to the cake’s rise.
4. Combine the Mixtures: Gradually pour the melted chocolate and butter mixture into the egg mixture, stirring gently to combine. Be careful not to cook the eggs with the warm chocolate; the mixture should be warm, not hot.
5. Add Vanilla and Dry Ingredients: Stir in the vanilla extract, then sift in the all-purpose flour and a pinch of salt. Gently fold the dry ingredients into the batter until just combined. Be careful not to overmix, as this can lead to a denser cake.
6. Fill the Ramekins: Divide the batter evenly among the prepared ramekins, filling them about three-quarters full. To achieve a gooey center, avoid overfilling.
7. Bake the Lava Cakes: Place the ramekins on a baking sheet and bake in the preheated oven for approximately 12-14 minutes. The edges should appear firm, while the center remains soft and jiggly. Keep a close eye on them, as baking time may vary depending on your oven.
8. Let Them Rest: Once baked, remove the ramekins from the oven and let them sit for 1 minute. This brief resting period allows the cakes to set slightly, making them easier to unmold.
9. Serve and Enjoy: Carefully run a knife around the edges of each ramekin to loosen the cakes. Invert each ramekin onto a plate and gently tap to release the cake. Serve immediately, accompanied by a scoop of vanilla ice cream or a dollop of whipped cream if desired.
By following these steps, you’ll be well on your way to creating indulgent chocolate lava cakes that will impress your guests and satisfy your sweet cravings. Stay tuned for the next part, where we’ll dive deeper into tips for achieving the best results and answer common questions about this beloved dessert!

Prepping the Ramekins: Importance of Greasing and Dusting
When preparing to make decadent chocolate lava cakes, one of the most crucial steps is prepping your ramekins. Properly greasing and dusting the ramekins ensures that your cakes release effortlessly after baking, allowing you to maintain their perfect shape and signature molten center. Start by using unsalted butter to generously coat the insides of each ramekin. Make sure to cover every nook and cranny to prevent sticking. Once greased, dust the inside with cocoa powder instead of flour. This cocoa layer not only helps with the release but also enhances the chocolate flavor of your cake, giving it an extra depth of richness.
Melting Chocolate and Butter: Tips for Achieving the Right Consistency
The heart of any chocolate lava cake is, of course, the chocolate. To achieve a smooth and glossy consistency, melt your chocolate and butter together. You can do this using a double boiler method or microwave. If using a double boiler, fill a pot with water and bring it to a gentle simmer. Place a heatproof bowl over the pot, ensuring the bottom of the bowl does not touch the water. Add your chopped chocolate and butter to the bowl, stirring regularly until completely melted and combined.
If you opt for the microwave, place the chocolate and butter in a microwave-safe bowl and heat in short bursts of 20-30 seconds, stirring in between. Be cautious not to overheat the mixture, as chocolate can seize up and lose its silky texture. Once melted, allow the mixture to cool slightly before combining it with the other ingredients to prevent curdling the eggs later on.
Combining Ingredients: Techniques for Mixing Without Overworking the Batter
Once your chocolate and butter mixture has cooled, it’s time to incorporate the eggs and sugar. In a mixing bowl, whisk together the eggs and sugar until the mixture is light and frothy. This step is essential for incorporating air, which will help create a delightful rise in the cakes. Gradually add the melted chocolate mixture to the egg mixture, folding it in gently with a spatula. Be careful not to overmix; just combine until no streaks of egg remain.
Next, sift in the flour, and again, fold gently until just combined. The goal is to keep the batter light and airy, which will result in a perfectly risen cake that still retains its gooey center. Avoid vigorous mixing, as this can lead to denser cakes that lack the desired molten texture.
Pouring and Baking: Ideal Oven Temperature and Texture Indicators
With your batter ready, it’s time to pour it into the prepared ramekins. Fill each ramekin about three-quarters full to allow room for the cakes to rise. Place the ramekins on a baking sheet for easier handling and to catch any potential spills. Preheat your oven to 425°F (220°C). This high temperature is essential for creating that deliciously molten center while ensuring the outer layer of the cake sets perfectly.
Bake the lava cakes for about 12-14 minutes. You’ll know they are ready when the edges are firm, but the center still jiggles slightly when you shake the ramekin. This balance is key; overbaking will result in a fully cooked center instead of the liquid chocolate you crave. As the cakes cool slightly after baking, they will continue to set, so timing is essential for achieving that gooey center.
Inverting and Serving: Presentation Tips for an Impressive Finish
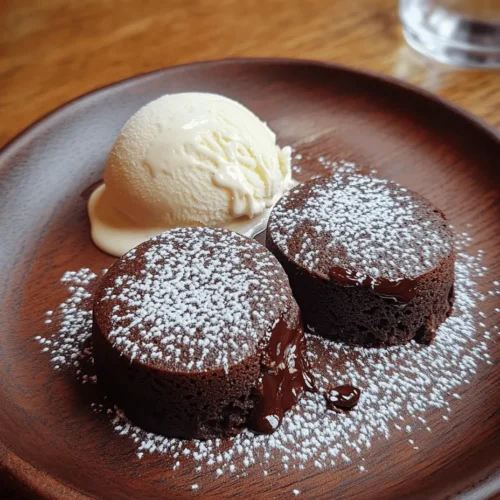
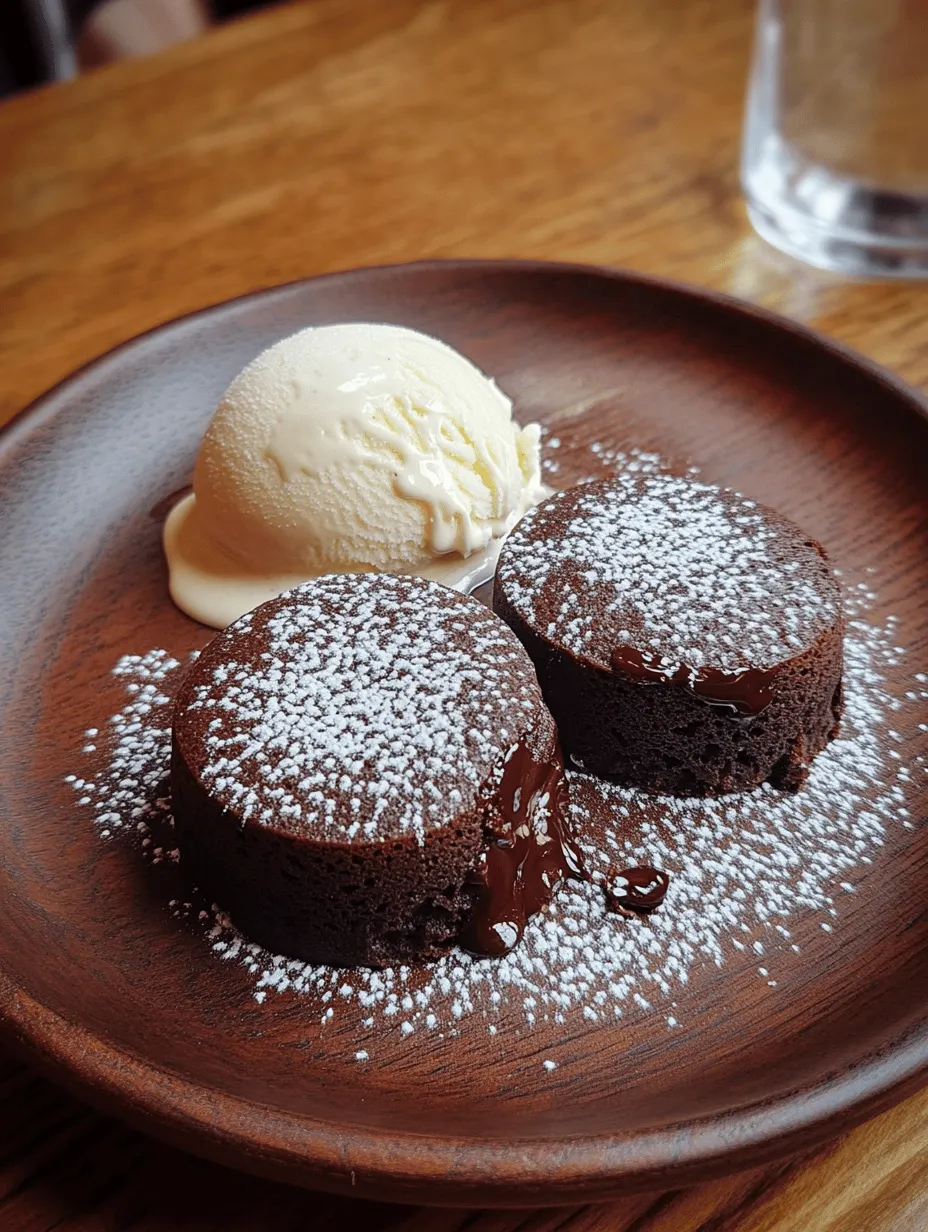
Allow the cakes to cool in the ramekins for about 1 minute before inverting them onto individual serving plates. To do this, gently run a knife around the edges to loosen the cake and carefully flip the ramekin upside down. Give it a light tap if necessary to help the cake slide out. For an impressive presentation, you can dust the top of the cake with powdered sugar or cocoa powder and garnish with fresh berries or a sprig of mint.
To enhance the indulgence factor, serve each lava cake with a scoop of vanilla ice cream or a dollop of whipped cream. The contrast of warm chocolate cake with cold ice cream creates a delightful balance of temperatures and flavors, elevating your dessert experience.
Tips for Perfecting Your Chocolate Lava Cakes
Common Mistakes to Avoid While Baking
One common mistake is not sufficiently greasing and dusting the ramekins, leading to stuck cakes. Additionally, be mindful of the baking time; even a minute too long can cause the center to solidify. Lastly, avoid using overly large ramekins; the recipe is designed for standard 6-ounce ramekins to ensure the cakes cook evenly.
Importance of Timing for Achieving the Molten Center
Timing is everything when it comes to chocolate lava cakes. Keep a close eye on the oven and use a timer to ensure you do not overbake. Remember, even after removing from the oven, the residual heat will continue to cook the cakes slightly. If you are unsure, it is better to err on the side of underbaking, as you can always return them to the oven for a minute or two if needed.
Variations to Try: Adding Flavors or Mix-ins
While the classic chocolate lava cake is undeniably delicious, consider experimenting with flavors. Adding a teaspoon of espresso powder to the batter can enhance the chocolate richness. Alternatively, a hint of orange zest or almond extract can add a delightful twist. For a more adventurous approach, incorporate a few chocolate chips or chunks into the batter for added texture and bursts of molten chocolate.
Serving Suggestions and Pairings
Best Accompaniments for Chocolate Lava Cakes
Chocolate lava cakes are delightful on their own, but certain accompaniments can elevate the experience even further. A scoop of vanilla bean ice cream is a classic pairing, providing a creamy contrast to the rich chocolate. Fresh berries, such as strawberries or raspberries, add a burst of tartness that balances the sweetness of the cake. Alternatively, consider drizzling with caramel or raspberry sauce for an extra layer of flavor.
Ideas for Garnishing and Enhancing Presentation
Presentation is key when serving desserts. To make your chocolate lava cakes visually appealing, consider garnishing with a dusting of powdered sugar or cocoa powder. Fresh fruit, microgreens, or edible flowers can add a pop of color. You could also serve the cakes in the ramekins for a rustic touch, or use a ring mold for a more refined look.
Pairing Drinks: Wine or Coffee Suggestions for a Complete Dessert Experience
When it comes to pairing drinks, a rich, full-bodied red wine, such as a Cabernet Sauvignon or a Merlot, complements the deep chocolate flavors beautifully. If you prefer non-alcoholic options, a robust coffee or espresso can enhance the chocolate experience and provide a delightful contrast. A glass of milk or a creamy latte can also be a comforting choice, especially for those who prefer something creamy with their dessert.
Storing and Reheating Leftovers
Proper Storage Techniques for Leftover Lava Cakes
If you have any leftover chocolate lava cakes (although they are unlikely to last long!), store them in the refrigerator. Allow the cakes to cool completely, then cover each ramekin tightly with plastic wrap or transfer them to an airtight container. They can be stored in the refrigerator for up to 2 days.
Best Methods for Reheating to Retain the Molten Center
To reheat your chocolate lava cakes, preheat your oven to 350°F (175°C). Place the ramekins on a baking sheet and cover them loosely with aluminum foil to prevent over-baking. Heat for about 10-12 minutes, or until warmed through. Be cautious not to let them bake too long, as you want to retain that luscious molten center.
Conclusion
Making and enjoying chocolate lava cakes is an indulgent experience that brings joy to any occasion. The anticipation of cutting into the cake to reveal the flowing chocolate center is a delight that never gets old. With a few simple techniques and tips, you can create an impressive dessert that will surely impress your family and friends.
We encourage you to try this decadent recipe and share the experience with your loved ones. Whether it’s a special celebration or a cozy night in, nothing beats the satisfaction of homemade desserts. Creating memorable moments in the kitchen is part of the joy of cooking, and chocolate lava cakes are the perfect centerpiece for those cherished times. Happy baking!


